What the script does
The KaleidoTriangle script creates a kaleidoscopic image by selecting a triangular slice or ‘mirror’ and then duplicating and rotating that through 360 degrees. You can choose the number of ‘mirrors’, the type of symmetry and whether or not it has a star effect. You can manipulate the position and size of the mirror to select very specific areas of your image.
![]()
The Start Menu
The Start Menu allows you to set a variety of parameters or you can go with the default values (shown in brackets after each option). When you select an option, you must also click on OK to open the relevant dialogue. For example, if you click on ‘Symmetry’, that box will then be checked, but you must also click ‘OK’ to display the Symmetry dialogue.

Create Kaleidoscope
Click this when you are happy with the selected options. The script will move on to the selection of the Base Mirror.
Mirrors (18)
This determines the number of slices or ‘mirrors’ in your final image. Any number between 3 and 90 will work but factors of 360 give the most regular (but not necessarily the most interesting!) results. Numbers between 8 and 30 tend to work well. Once you have selected a number of mirrors, the script will calculate how many degrees for each rotation are needed to complete your image. For example, the default value is 18 mirrors which results in an angle of 20 degrees which is added cumulatively for each rotation.
Symmetry (Normal)
Click ‘Symmetry’ and then OK to access the Symmetry sub-menu. There are 3 choices:
- Normal: A base triangle is created first. This is half the width of the triangle which would be created when Symmetry is set to None. This base triangle is duplicated and flipped to form the base mirror.
- Flipped: This is the same as ‘Normal’ except the base triangle is flipped right instead of left.
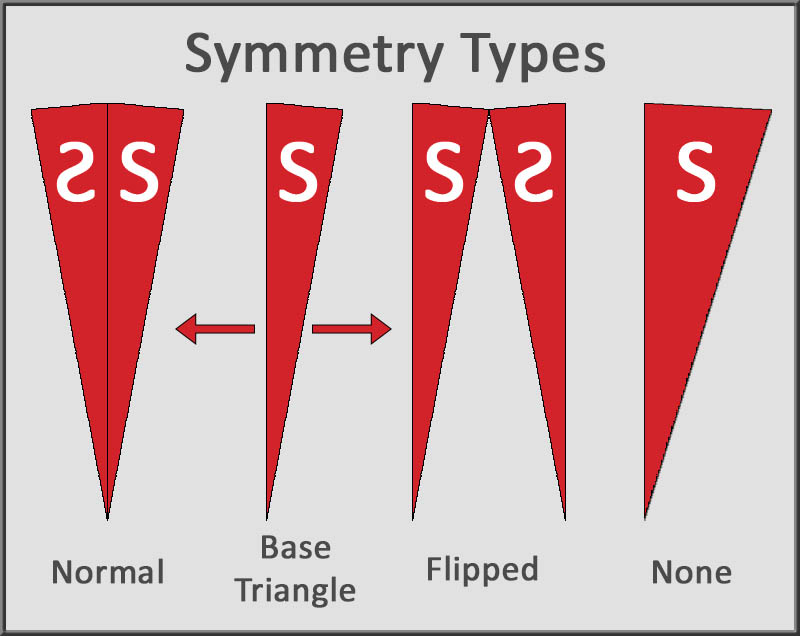
- None: A single triangular section is cut from your image and this is duplicated and rotated to create the kaleidoscope. You will notice that, with some images, each section will be separated by a hard line which doesn’t always look great.
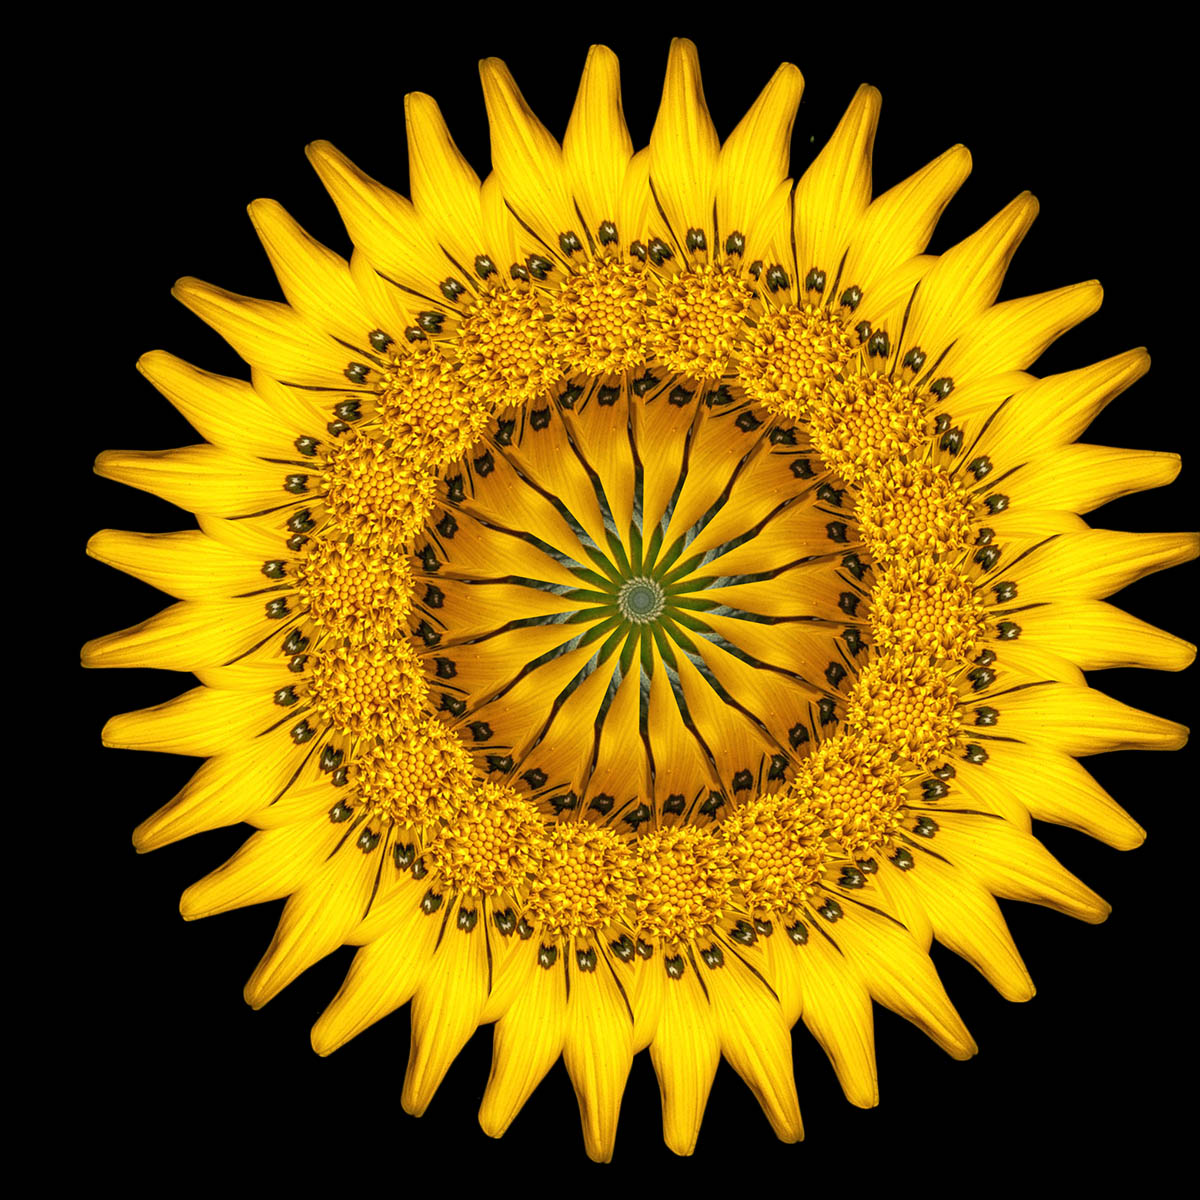
The examples below were created using the same image and the same settings other than the 3 symmetry types.
Normal Symmetry
Flipped Symmetry
The black areas are transparent
No symmetry
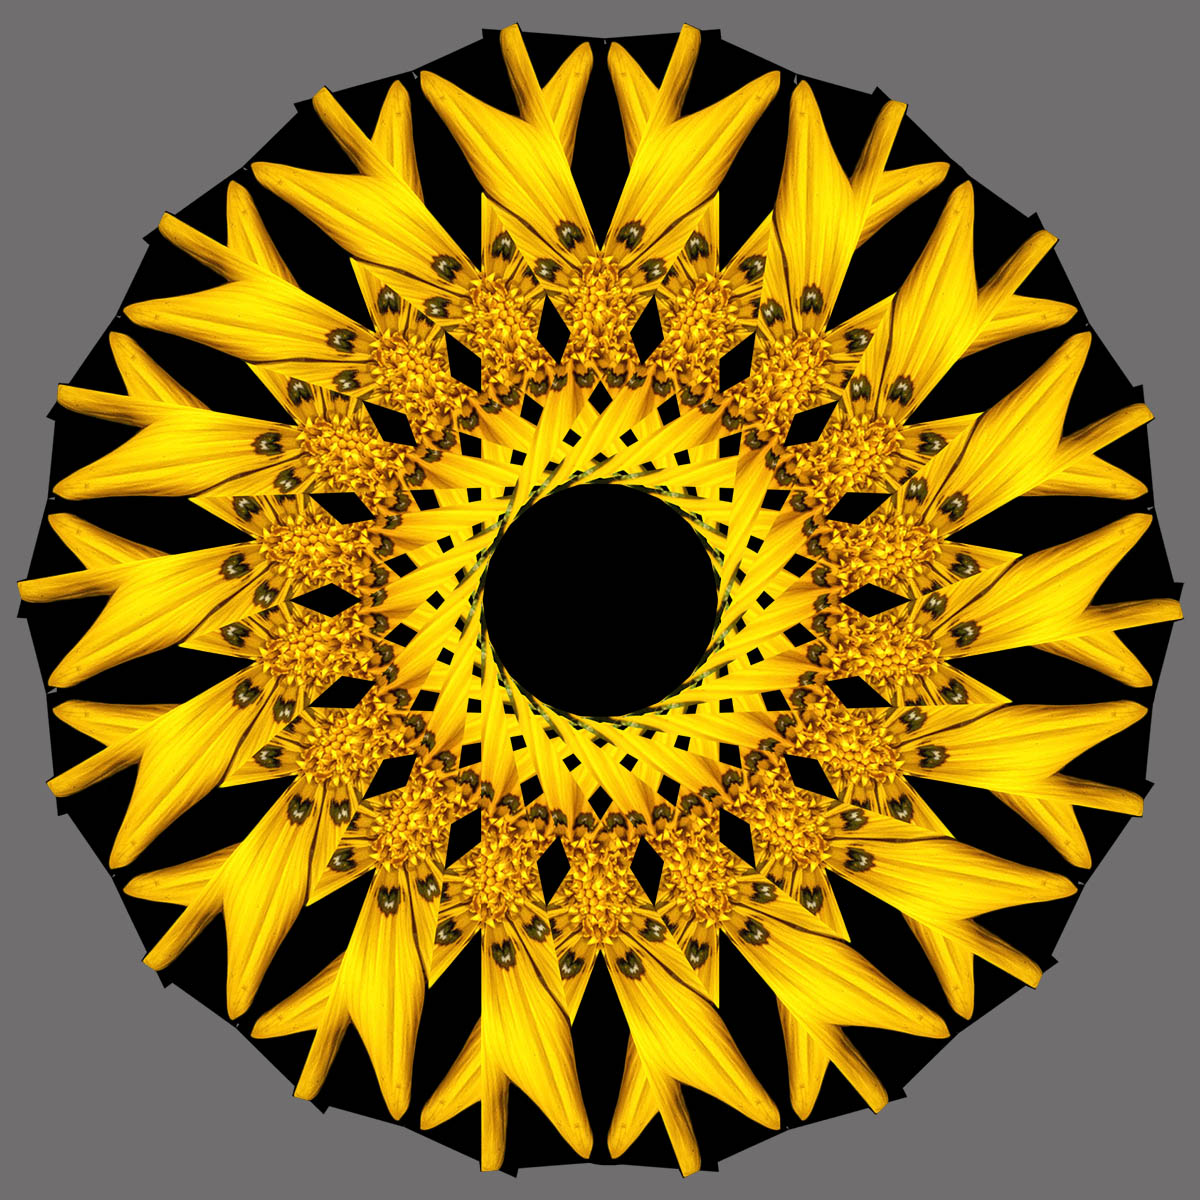
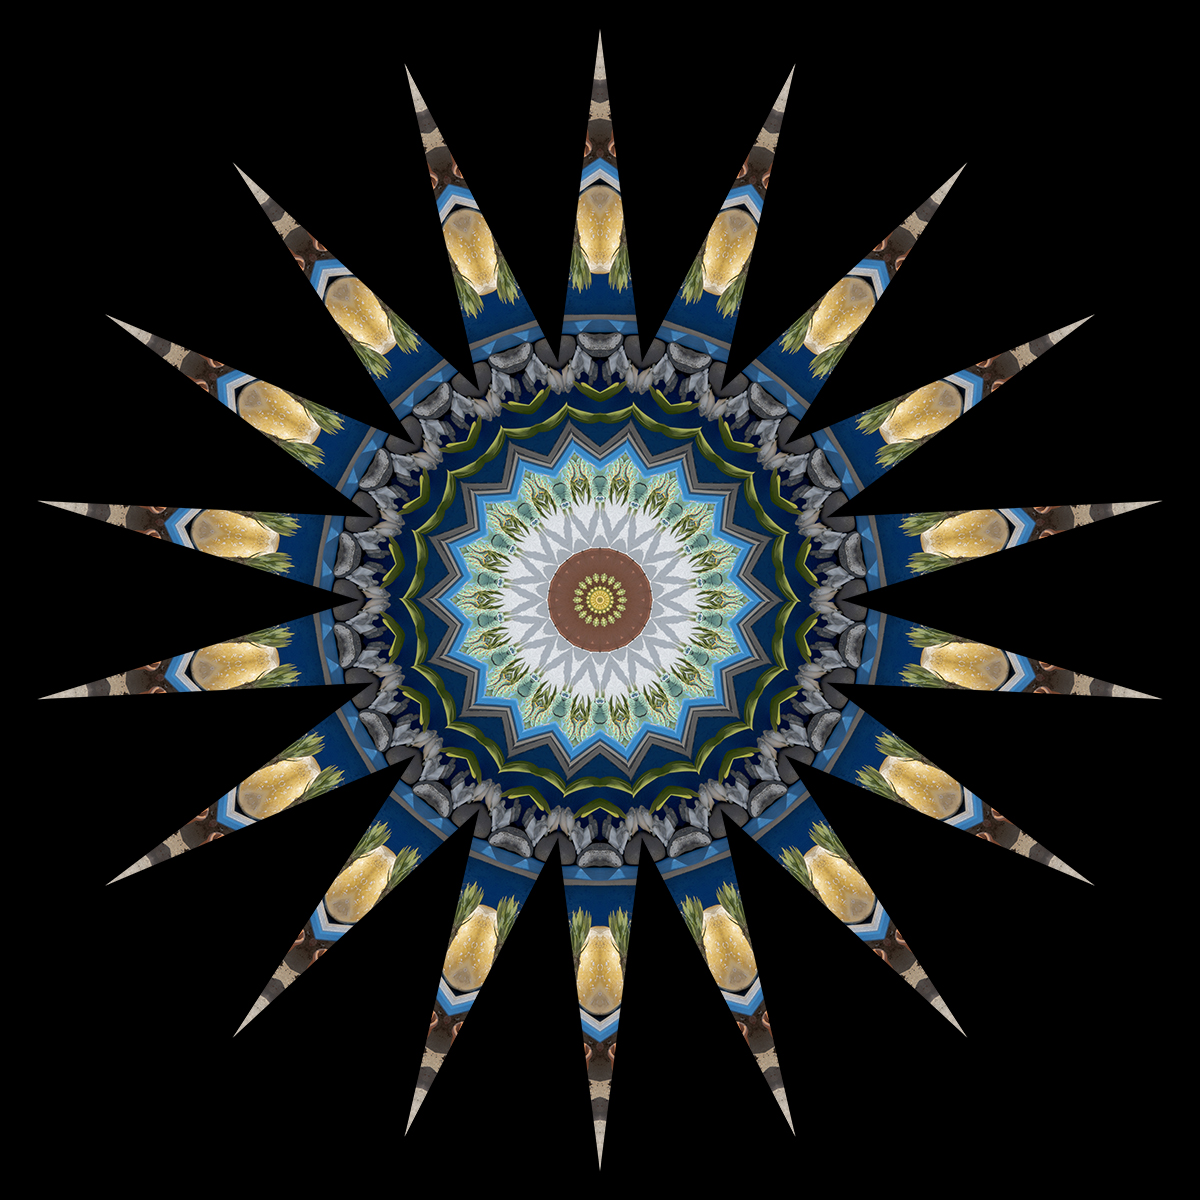
Star Effect (N)
I considered calling this feature ‘Serendipity’ as it arrived as a result of a script error. I made a mistake with a single co-ordinate and suddenly, star-shaped images appeared as if by magic! So it became a feature rather than a bug! When ‘Star’ is active, you will be presented with a triangle which is half the usual size and centred in the middle of the screen. A smaller triangle is required to create the star effect. You can make it even smaller if you wish! It’s easy to determine the size of the star points. The smaller the triangle and the nearer it is to the bottom of the screen, the greater the effect will be. If the triangle is aligned with the top of the screen there will be no star effect at all.
Force Square (Y)
When ticked, all images will be forced into a square format regardless of their original aspect ratio. This has the advantage of compressing your image content and will often produce good results. It also works perfectly well when it’s switched off. Regardless of this setting, the final image will ALWAYS be square.
Refresh (N)
When ticked, the script will update the screen to show every iteration of the kaleidoscope appearing. When switched off, it will go from your original image to the finished result and will only update when the result is complete. The advantage of switching it off is that your final image will be produced much more quickly.
The Base Mirror
Of all the inputs you make during script execution, this is the most important as it is where you select the content which will be used as the base mirror. Everything else will be thrown away.
When you click ‘Create Kaleidoscope’, the script will superimpose a semi-transparent triangle with a red outline over your original image. The triangle is aligned with the bottom and top centres of the screen. The content inside the triangle will become the content of the base mirror.
The default selection triangle is shown in the second image. The image has been squashed as ‘Force Square’ was set. The triangle and the red outline are quite hard to see in this example although the bounding box handles are obvious. The opacity of the triangle is a balance between being able to see the box AND the underlying content clearly. It’s easier when you are working with a screen size image.
The third image shows that the selection triangle has been downsized using the middle bottom handle and moved horizontally so that it still aligns with the top of the image.
The triangle has a bounding box and several handles and the script will wait until you confirm the size and position of the white triangle. The triangle can be transformed in several ways. It can be:
- moved anywhere within the image: This can be done with the arrow keys for precise positioning. Hold SHIFT and any arrow key to move in larger increments. It’s possible to move part of the triangle so it is outside the image. This will cause unpredictable results! You may find that, with portrait images, part of the triangle is outside the image window when it appears. This will result in black areas in your kaleidoscope. although this can be interesting, it’s usually easy enough to fix by using more mirrors or by setting ‘Force Square’ to Yes.
- resized: You can resize the triangle by dragging any of the handles. Hold SHIFT at the same time to preserve the aspect ratio. It will work if you don’t hold SHIFT and the aspect ratio is changed but the results are again unpredictable and can include gaps and overlays. Can be interesting though!
- flipped: You can flip the triangle by dragging a handle so the triangle is mirrored. It will still work but the result will be almost completely black!!
- rotated: Try this at your peril! Again, it works, but the results can be weird but not so wonderful usually! Worth an experiment or two though! I know how to fix this, but that wouldn’t do anything new!
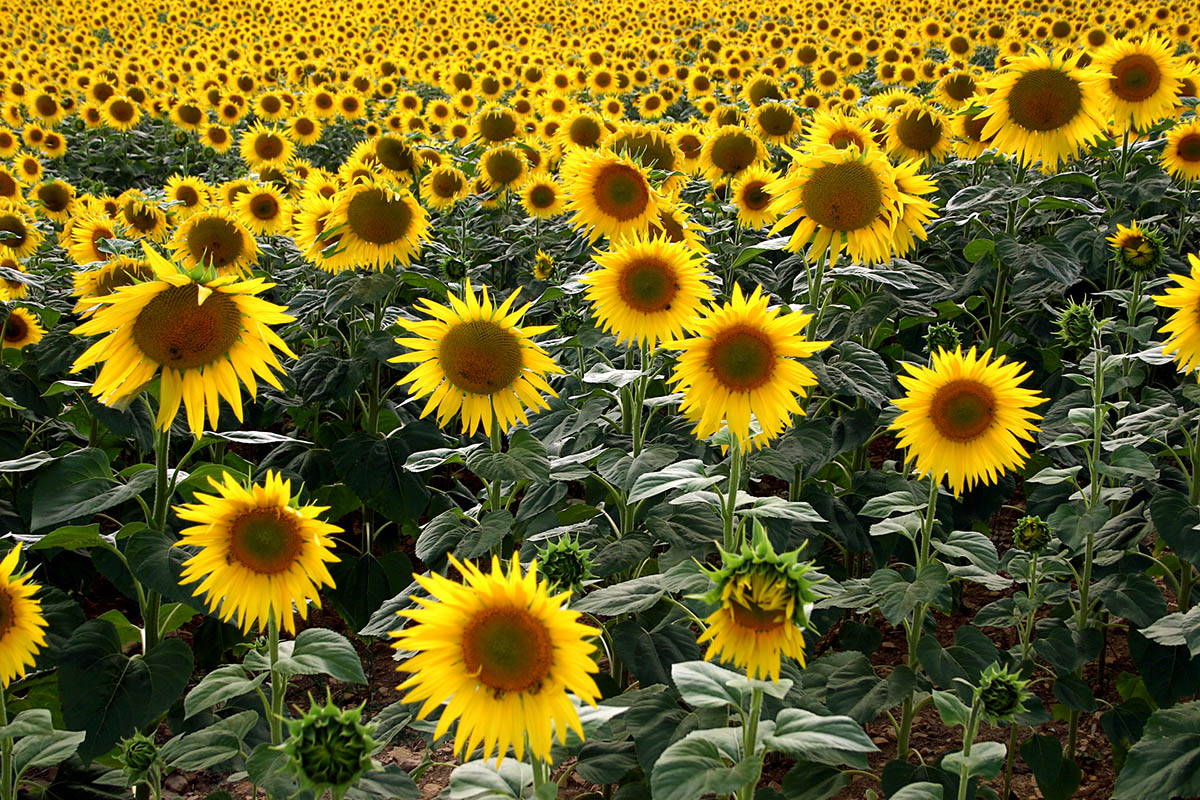
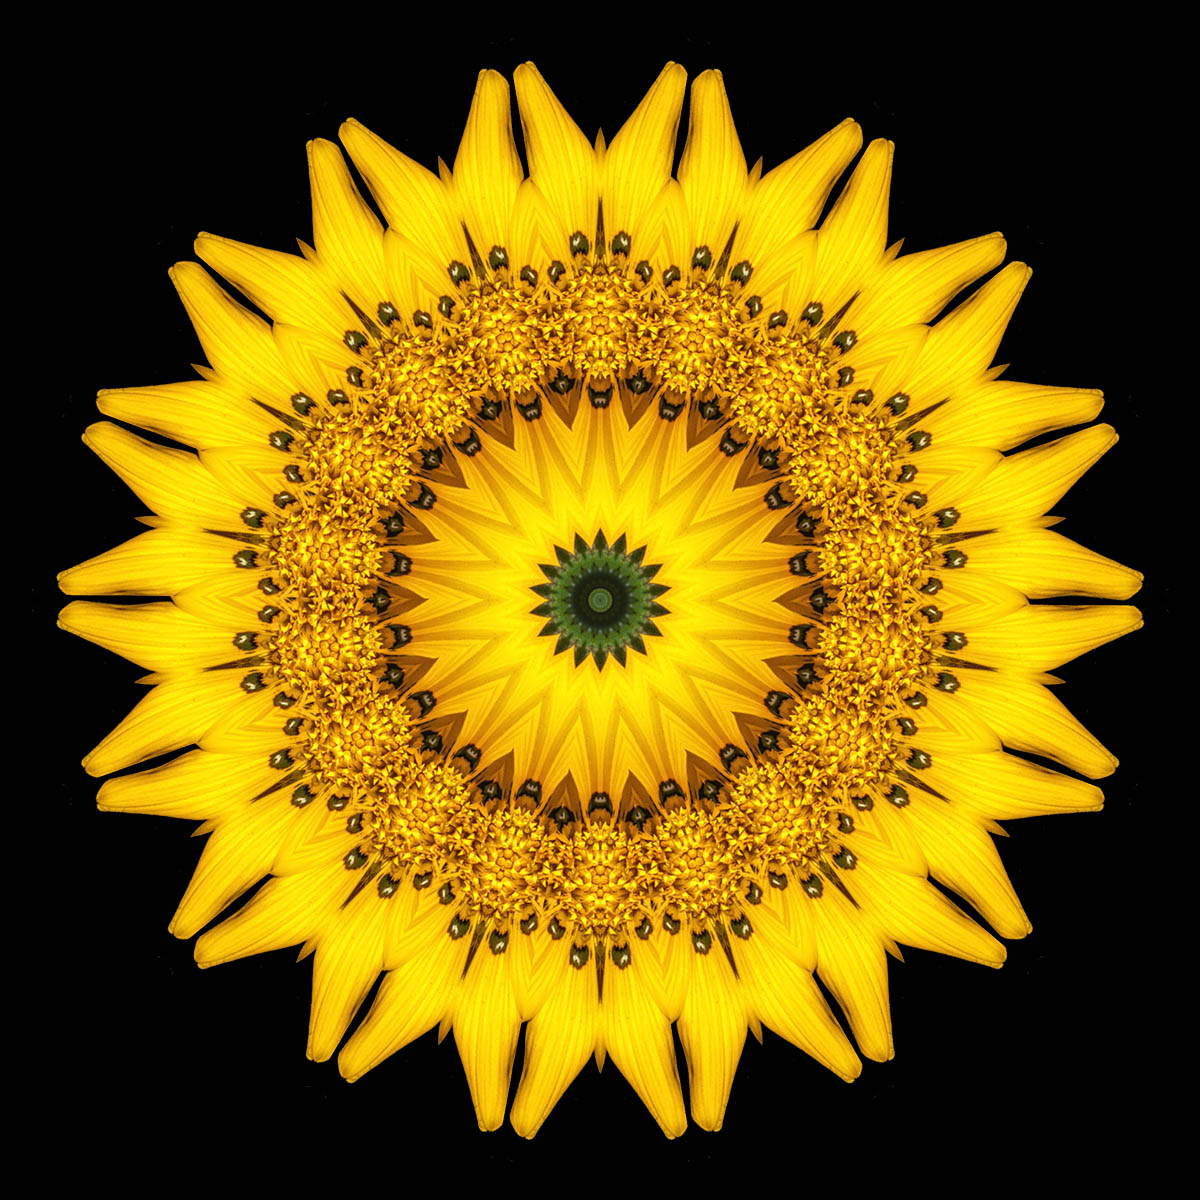
The original image
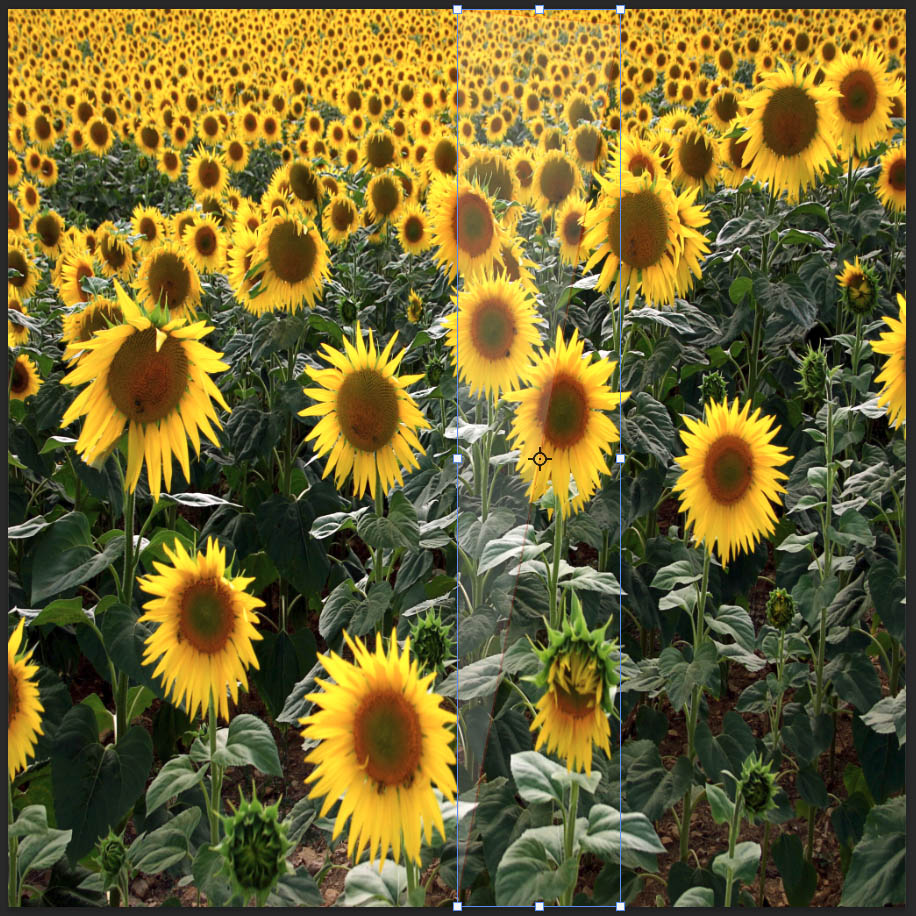
The default selection triangle
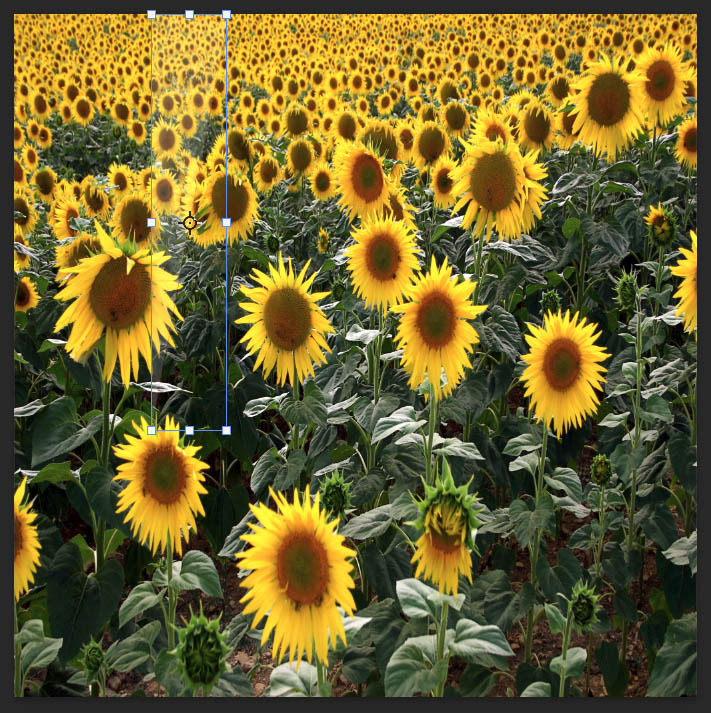
The selection triangle has been resized and moved
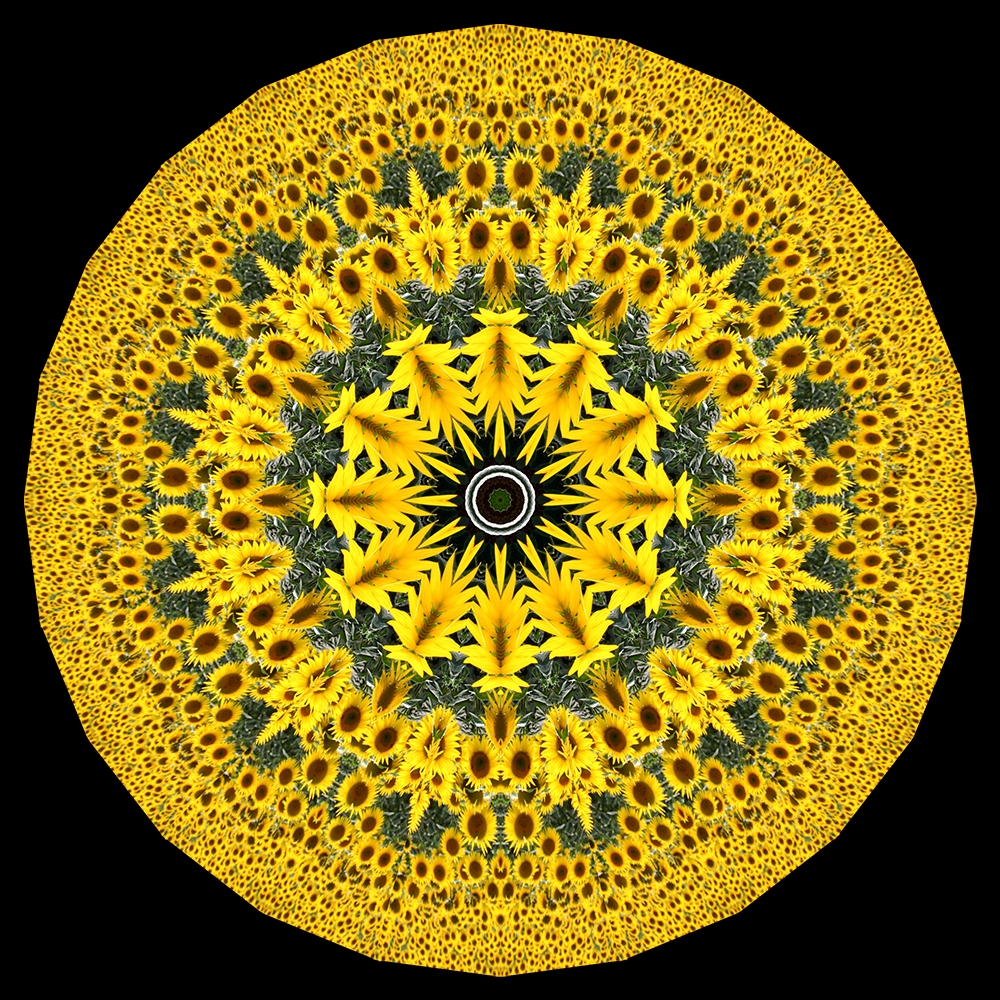
The final kaleidoscopic image
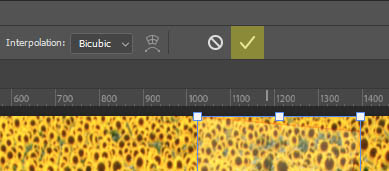
Once you’re happy with the triangle, move on by clicking the Tick box on Photoshop’s top menu bar or press RETURN.
The Finish Menu
When the image is complete, the Finish menu is displayed.
-
- If you wish, you can save the file as a jpg or psd.
- Click Finish to see your image properly and do whatever else you wish to it.
- Clicking Rerun restores the image to the point at which the script was executed and the Start menu is displayed. Any values you changed in previous runs will be preserved.

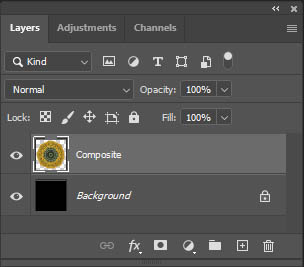
The End Result
The end result will always have the same arrangement of layers:
- a black background layer
- a layer called Composite which is the completed image